Saturday, March 16, 2013

A Few Things...


Here are a few things!

Second, Third, Fourth Hand...

I think I've talked on here about thrift shopping (only got 20 dollas in my pocket...) before and how I feel about it. I LOVE IT. If I can find something at a second-hand store that is a little pre-loved, I'll definitely buy it there instead of at a 'regular' store. I love the idea that this item has been owned by someone and perhaps cherished or passed around. It's a good thought. So anyways, now that I'm no longer a whining, impatient 12 year-old, my mom can stand going with me.

The other day we went around to all of the shops and kept our eyes open for anything that caught our eyes. The thing about thrift shopping, especially in a small town with limited options, is that if you have ONE PARTICULAR ITEM in mind you're most likely not going to find it (unless it is a very basic item that can be found in most second-hand stores, like kitchen items).

We got a good haul last week between St. Vincent's, the Salvation Army, and the clearance shelf at Jo-Ann's!


The two large cork-boards were 99 cents and $1.99, and I'm using them to make signs. I love a good sign, and the less announcements someone has to try and make the better. The small one was also a dollar, I think, and I can't find it so let's hope it shows up...
We also collected a few photo easels which you can't really see, to hold up all my handmade signs. These were 79 cents to $1. The box with the lady on it was a mystery box, sealed inside a bag. But it was $1 and I needed to know what was in the box. Turns out they're blank cards with the same fancy-hatted lady on the top. I'll use them as thank-you cards!
The fabric inside the box was a bundle at the Salvation Army for a I think $1, and I'm going to turn that into something-awesome-eventually-I'm-sure.
The burlap was, unfortunately, not found second-hand. But it was cheap enough for us, so you know it was pretty cheap. We now have "regular brown" burlap, dark brown, green, white, and pink which are incidentally my wedding colors. Kat loves the burlap and thinks she is Queen of the World, so that's why she's lounging all over my booty.
The trunk is one of my favorites and it will be the card box. It was regularly $60 at Jo-Ann's but we got it on sale for $15. 


My mom spotted this beautiful dish at the Salvation Army for $2.99 and we grabbed the hankies because I've started collecting them in various shades of my colors. I think they will look pretty with centerpieces or hanging from tree branches.

Sometimes you see something and you don't know exactly what it's purpose is going to be, but if you really love it you probably better grab it up! I have a small collection of items that I'm not sure how to use, but I feel confident I will find a place for them on my big day.

The most important thing to remember is that this is your wedding. What memories do you want to have of this day? What will you keep afterwards, and what will be thrown away (and consequently have been a waste of money)? Some of the crafts I've made will likely go in the trash, but other things will find a place in our homes for the rest of our lives. And it will have been worth it. These things are where you want to put your money.
If you stay true to yourself and you & your beloveds personal tastes, you will be happier in the end.

Sunday, March 10, 2013

The Little Things.


I found this burlap frame at the Dollar Store the other day with a piece of paper glued to it, a piece of paper with stupid ugly flowers on it. I bought it, figuring I could rip the paper off. And I ALMOST did. However, the paper would NOT rip off! It's freaking paper so I thought it would be easier, but someone was really glue-happy.

So I ripped the burlap off with a screwdriver and covered it with some fabric I got out of the scrap bin. I love cheap things. It will look cute and take up some space somewhere. It's the little things, right?!


I got this chalkboard for $3.50 at Jo-Ann's and I probably won't buy another. I had a box of chalk a month or so ago that has since disappeared, so I got out my handy SHARPIE marker pen and just free-handed it. It's not professional-looking but I don't give a half a shit, I like it looking a little home-made! HAVE FUN WITH YOUR WEDDING. It's important. I'm having a blast, even though probably no one else would want to use my stuff. It was made by me, so it's more personal than anything I could have rented, and that's just great.

Sunday, March 3, 2013

The Dress.

When a bride is planning her wedding, she looks at hundreds (if not more) of dresses. I looked at hundreds of dresses online - on Pinterest, on Etsy, on famous designer websites (hello, Alfred Angelo and Monique Lhuillier), on wedding blogs like www.weddingchicks.com & www.theknot.com, on discount sites like www.tidebuy.com and www.lovelyeveningdresses.com (these sites are worth looking at). And I fell in love with about 75% of those dresses.

The lace! The sweetheart necklines! The petticoats! The pearl buttons! The chapel trains! The ball gowns! The beads! The flowers! The high necklines! Good god, wedding dresses are cool. The more I explored the world of dress styles and designers, the bigger my eyes seemed to be. How was I EVER GOING TO CHOOSE?

Here are my tips: Have a budget. Looking at dresses outside your budget is a good idea if you are looking to find it or one just like it at a discounted/lesser price. The reason I allowed myself to go to those designer websites (like Clinton Lotter, aaah!) was because I knew I couldn't buy from their stores but maybe I could find them secondhand or, hey, even knock-off. 

Second, try dresses on to see what style you like. This can make that previous tip about not looking at dresses out of your budget a little harder to stick to. Don't go to expensive stores - this is easier for me because I don't live in a big city. I didn't try on any dresses that were out of my budget - I was going to buy online, so I tried on the styles even if I didn't like the design. There are many different silhouette styles and you don't know which looks best on your body without trying them all on.


Not to mention, of course, the various necklines/straps/train lengths, etc. Some girls know what they like and don't, and that's great. But don't expect it to stay that way, necessarily.

I knew I didn't like Mermaid style dresses, and I was right. I knew I would never wear a Mini, and I was right. But I also said I knew I would never like a Sheath silhouette or a Trumpet, and I was wrong.

Anyway, tip 3 is be true to yourself. Don't choose the one your friends like the best, or your mom or your mother-in-law or your fiance if you're the girl that takes him along...

Your wedding dress should be your favorite dress in the world that day. It should make you feel like a bride, and be something you'll look back on in thirty years and say, "Oh, I loved that dress..."

Today my mom and I went to our local wedding store, which we both really like because the service is amazing and the ladies are so kind. Not to mention they had mimosas today. I mean. Come on. That's love right there.

Anyways, we picked out way more dresses than I thought we would! The first one I tried on was the one I loved from the first time I tried on dresses. And I still loved it. It it a beautiful dress, I'll post a picture soon. Can't find it.

Next I chose to try on one that had caught my eye on the rack because of the lace on the top. It was a simple dress and a style I hadn't tried on yet. While I was in the dressing room, I felt butterflies in my stomach. When I stood on the podium, my mom and I looked at each other for a long moment before we both started to cry. It was the best feeling.

After that, I tried on a few more that I ended up also really liking. But my mom and I both kept looking at that second dress, hanging there looking so "ME", and in the end, we knew. I knew, and she knew. I tried it on again and we both cried again! SUCH WOMEN, I know! But I hear that's how it goes.

That's how I ended up buying my wedding dress today for 75 dollars. By not grabbing it off the sale rack because it was something I hadn't tried yet, and by pulling a little red ticket out of a hat that gave me a nice % off the dress. I am SO EXCITED! YAAAAAAY!


Thanks, mommy.


Friday, March 1, 2013

A Banner Year.

As it turns out, the world is against me this month. For some reason that I've been too preoccupied to look too far into, my computer has stopped reading SD cards (and any variation thereof) and I have misplaced my camera cord. Or left it somewhere else. Or did not look for it very hard. Or something.

So this night's blog post is brought to you by my iPhone camera, which usually works fine even for detailed craft pictures but not so much this time. I'll get into that.

Anyway, this post is to show the two more banners I've made to date, perhaps officially qualifying them as a collection? Maybe just an early-stage obsession. One banner is for the dessert table & the other is for the table where Jeremy and I will "sit". And it just occurred to me that now I can make banners for the walls! (I hope there are walls somewhere!)


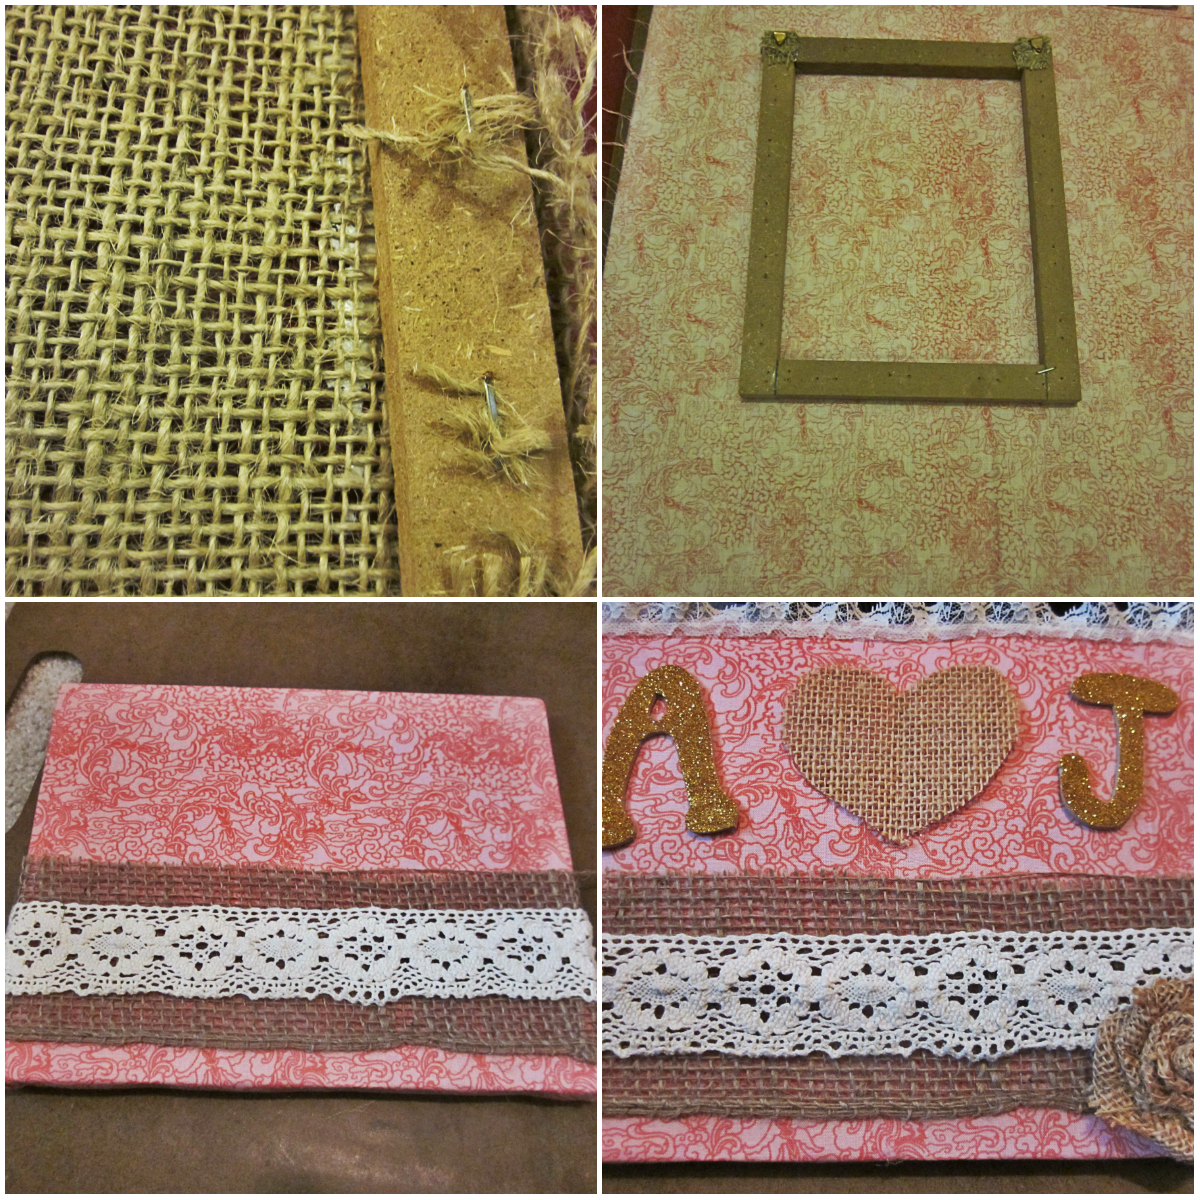
I started with a stack of SHEETS OF FELT from Jo-Ann's & cut those in halves.

Then I drew (IN PEN because it was the only thing that would show up and I CAN'T CUT STRAIGHT TO SAVE MY LIFE)triangles the same size as the LOVE banner I made (and will probably now discard).

I don't have photos of the next steps, so read carefully. 

1. Choose what you want to say. For this one, which is for our dessert table, I chose "Love is Sweet".

2. Choose your medium. You can be much more creative here than I was, I'm sure. I chose felt for the base (because it's cheap and only ugly when you're reaallly close to it) and pretty leftover fabric squares (from the discount bin found at almost any local craft store) in varying colors for the letters.

3. Decide how to apply letters. Here you can get very creative. 
I chose to pick a font on my computer because I downloaded hundreds of free ones recently that I really liked, and because I'm not consistent with my drawing (it would look as though 5 different people did the letters). I cut out the shapes of the letters and taped them to large fabric squares, the way I did with my props. I then cut the letters out of the fabric and immediately applied Fray Check to the edges. 

OTHER LETTER IDEAS: cut the letters out of pictures of you & your groom or pretty magazine pages, stitch/sew them, hand write them, paint them, stamp them, cut them out of the banner itself (so you're looking through each square/triangle), cut them from favorite t-shirts or vintage aprons, something that belonged to a family member/groom's family. Do anything! Do something that's you.

4. Apply the letters to your base material. I thought about using my hot glue gun but realized that was taking the easy way out and decided to hand-sew them to the felt. Because I don't have a sewing machine. Because I'm an idiot who took on a DIY wedding without a sewing machine.

It's nowhere near perfect, but I like that about it. Nobody would believe I made it if the sewing was impeccable!

5. Try not to throw the whole thing in the trash. For me it was SO MADDENING when I would pull the stitch back through the bottom when it needed to go the opposite way. Just take a deep breath and remember that perfection is stupid, nobody likes it nearly as much as they love the hand-made, quirky homey fun touches that come from being human and doing things yourself!


This next banner is my favorite and was super quick and easy, probably mostly because I didn't take any of the recommended steps!

Again I began by choosing a font and making stencils. This time I did it the opposite way and cut the letter out of the page instead of cutting the page off the letter. Use a blade for this, people!

Then I cut SIX 8" by 8 " squares of UN-IRONED BURLAP. You should probably iron it. Wash it. All that. The lady on the how-to did.

Then you put that stencil paper in the center of that burlap square and you dab paint over it, touch it up, & you have a beautiful R like that one there.


THEN I STITCHED IT TOGETHER WITH GOLD THREAD, WHICH WAS THE BIGGEST PAIN IN MY ASS. DON'T DO IT. Or do, because it took like 10 minutes. It's up to you.


Friday, February 8, 2013

Photo Props.

Somewhere along the way, I stumbled on those great photo props that are all over Pinterest. I immediately knew I wanted them at my wedding. People tend to shy away from cameras, but when there are props everyone wants in the photo!

I decided to make mine with foam sheets from Jo-Ann's, it's cheap and easy to use (although the glitter sheets are a little pricey in my opinion at 2$ apiece...). I then Googled the images I wanted, printed them out, and started!


I taped my glasses stencil onto the (upside down) foam and used my XACTO knife to trace the 'lenses' right out of there.


Make sure to use cardboard underneath so you don't cut into your table surface. Once I cut out the 'lenses', I took my scissors to cut around the glasses shape because they work easier with curves.


There are so many options, I decided to have a little fun with my props.


The fancy mustaches are my favorite. I want to wear them around all day.
To be able to carry them around, I used meat sticks. You know. For cooking. You can find these at the craft store without pointy ends, made for projects such as this, but I had a bag in my pantry from a fondue party a while back, so whatevs!


I put a generous amount of hot glue over the pointy end of the stick and held it there until it began to dry. Yes, these would be a little dangerous if the props come apart. So hopefully my guests are smarter than that!


And this is what my table looks like after every project.


Tuesday, January 15, 2013

On Junk, and Loving It.


There is something to be said about the contrast between old and new, between natural and man-made. 

When I was younger, my mom and my sister would scour the junk stores while I moped about, imagining hundreds of old ladies who once treasured all that stuff, now just dead. I couldn't get into it back then. Of course, by the time I did, my mother had spent years convincing herself she JUST DIDN'T NEED MORE JUNK, and my sister moved away. 

Thankfully my mom got back into the spirit of it for my wedding, and I'm so glad because she's already found me some of the best things I own. These crates she picked up are exactly what I'd hoped for. I hope we get lucky and just keep finding good old CRAP, because they are the treasures of my lifetime. 

Thanks, mom!

On a Whim.

I received an Oriental Trading Company magazine, WEDDING EDITION. It was so great, the prices are amazing. In the magazine, there were a lot of cute banners in my colors. I thought about ordering a few, but I realized banners are one of the easiest things to make, and the funnest. 

I have a few ideas for burlap banners, but it turns out the roll of burlap I bought is not a tight enough weave for that particular project. I did, however, have a stack of paper about as tall as I am as well as 4 cardboard triangles leftover from a baby shower project.

So! I spent a good 20 minutes choosing a font, printed out some letters, and gathered my supplies!


At first I wanted to cover the triangles with paper and then glue the letters on. But with a patterned background they didn't POP unless they were black, and I'm avoiding black as much as possible. So I decided to cut the letters out of the background papers themselves.

1. I traced the cardboard triangles onto patterned paper and cut out pretty new triangles.

2. I placed the paper triangles over a foam sheet, then taped my letter OVER the triangle paper.


3. With my XACTO knife, I began tracing the letter. Then I realized it was easier to serrate the edges of the letter, meaning I poked a hundred little holes around the letter.

4. When I took my stencil off, I had this same E on my pretty triangle and poked it out with my blade. Now I had a triangle with an E cut out of it.

5. I took the gold stamp pad and rubbed it on the cardboard triangle where the E would go, so it was gold instead of brown. I glued my paper onto my triangle with hot glue.


It actually did not take as long as I'd thought it would once I mastered cutting out my letters. Now I will take a file to the edges of the paper so they lay down smooth, then put twine through my holes and TA-DA!!!


Thursday, January 10, 2013

Project One.

Somewhere along the way, I saw a fabric flower someone had made. That, along with a photo I found later, inspired my first project. I collected fabrics from Jo-Ann's (the leftover scraps are cheaper!) and bought a string of shiny pearl beads and began. I recommend comfortable scissors for this project, which I still don't have because scissors are not cheap. Unless you find a good pair at the St. Vincent's, I need to look there...

Anyways, I did not take pictures of my very first steps into the flower-making. But it was easy. I traced a lip-balm container to make hundreds of circles. I set some of them aside to use as bases, then starting folding the rest to make petals. I have seen literally hundreds of ways to make flowers and almost all of them turned out better than mine, but I like mine so that's alright.


I long ago decided on using mason jars, and luckily my mom had a lot of those so I didn't have to spend time or money collecting them and could start right away!


Before I started decorating the jars, I made some flowers that were really big. I ended up not liking them on the jars so much, so they went to another idea.


I am excited for them to serve their new purpose! Now, I must caffeinate before work, so more photos later :)

Wednesday, January 9, 2013

How I Got Going.

In all honesty, I'm a little embarrassed to tell you how long I've been engaged. Under a year, long enough for me to feel like a slacker sometimes. Time is money, they say, and I may have benefited from spending mine sooner! But that's alright, because now I have a full vision and not just a few random ideas. This is all thanks in large part to Pinterest. And if you don't know what Pinterest is then all I can say to you, my friend, is that you're missing out and you need to go there now! Really.

Okay, so I spent hours (months) on Pinterest stalking wedding boards, DIY boards, color-themed boards, e-card boards (because you need to laugh during this process to ward off the dark thoughts) . Then, through a source my brain apparently did not deem memorable, I discovered sites like Wedding Chicks and The Knot and their amazing blogs. I don't even want to know how I'd be feeling now if I hadn't poured over other girls' weddings.

My own visions came together only after seeing thousands of photos of various ceremonies and details. Many of the ideas I started out with changed some or completely, and I'm sure about what I'm now spending my time and money on. A big thank you to all the couples (and their photographers) who make it so enjoyable (and free, wedding magazines are out of my budget!) to plan a wedding by sharing theirs.

Here are some of my favorite inspiration photos!


By the way, I have been engaged for 8 months and am planning a September wedding.

In the Beginning.

They say every girl dreams about her wedding day. I don't know if that's true, but I know that I definitely imagined my own once or twice throughout my adolescence. While I'm sure many of my own friends (though not all, I know!) dreamed of long trains and big palaces filled with flowers and fancy china, my own visions for my wedding day were stolen right out of Little Women, and just about as plain as you could imagine. 
Now, as what can only be painfully identified as a 'young adult' whose dreams have changed and has also met her Mr. Right, it's time I get down to business. I have a vision and a savings account of zero dollars. It's time to prove to the world and to myself that a fly-by-the-seat-of-my-pants wedding can be a beautiful day instead of a big disaster.
From the decorations to the invitations, the food to the music, from beginning to end this will happen with a few dollars here and a few (larger) dollars there, a hot glue gun, and a long list of beautiful things I'm about 85% sure I can recreate.
And if not there's always the court house steps and the bar afterward, right?